My Google Nexus 4 has been playing up lately: taking ages to connect to WiFi and burning up battery extra quickly. Time for another factory reset, I thought, so plugged it into my PC to backup my ebooks, music files and photographs only to discover that it no longer showed up in Windows Explorer.
It turns out that a recent Windows 8.1 update has prevented many Android users from connecting their devices.
In Windows Device Manager click on View > Show hidden devices.
Locate the ACER Composite ADB Interface uninstall all instances of it.
Reboot PC.
Plug in Android phone.
Return to Device Manager and open ‘ACER Composite ADB Interface and select ‘Update Driver…‘.
Select ‘Browse my computer for driver software‘.
Select ‘Let me pick from a list of device drivers on my computer‘.
From the list select ‘MTP USB Device‘.
Click Next.
Unplug Android phone.
Reboot PC.
Plug in Android phone.
Windows 8.1 showed the phone in Windows Explorer.
Nexus 4 listed as a device in Windows Explorer.
For some reason I had to do this twice. It may have been because I had ‘USB Debugging’ activated in Settings > Developer Options, and I unticked it the second time.
Anyway, I can now connect my Nexus 4 to my PC. Panic over.
With the recent release of Android 4.4.3, all of you Nexus 5 owners running fully stock software will be getting a notification to apply the patch soon, but what about those of us with rooted phones?
The over-the-air update that comes directly from Google will not install on a rooted phone. The script that it uses to patch your OS to the newer version performs a check that will abort installation if any changes to the system partition are detected. And since the Superuser binaries are installed on the system partition, rooted phones cannot pass this checkpoint.
But there's no need to fret, we've got you covered here in a step-by-step guide that will let you install Android 4.4.3 KitKat on your rooted Nexus, and you don't even have to worry about losing any data. The steps will be essentially the same for all Nexus variants, including the Nexus 4, Nexus 7(both the original and 2013 models), and Nexus 10—simply grab the appropriate image files in Step 3.
Since this method will utilize Android Debug Bridge, you'll need to enableUSB Debugging on your device, which is in the Developer Options menu. If you don't see that menu in your Settings, let's unlock it now.
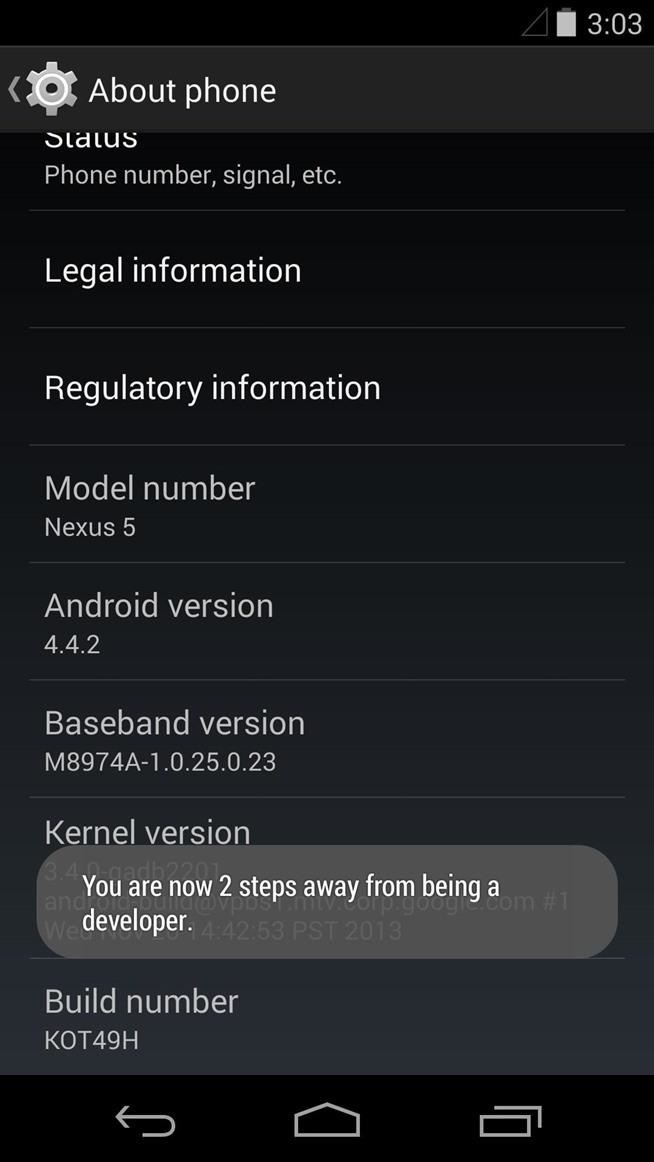
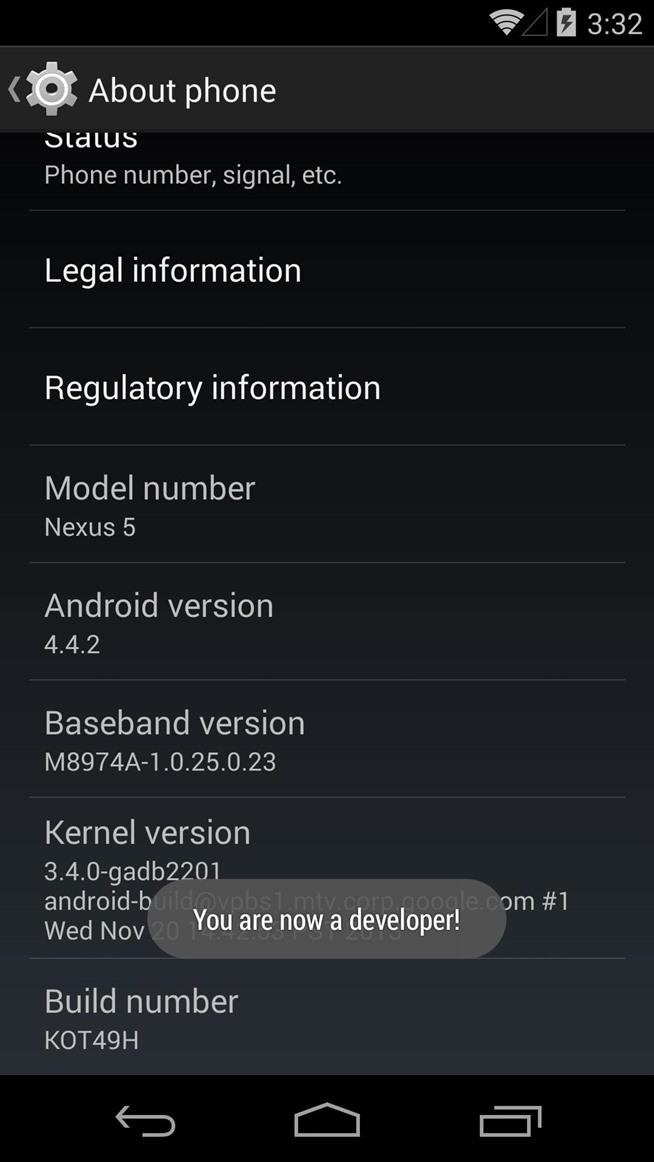
Head into Settings, then scroll all the way down to the bottom and hit About Phone. In here, scroll down to the bottom again and tap Build Numberseven times in rapid succession.
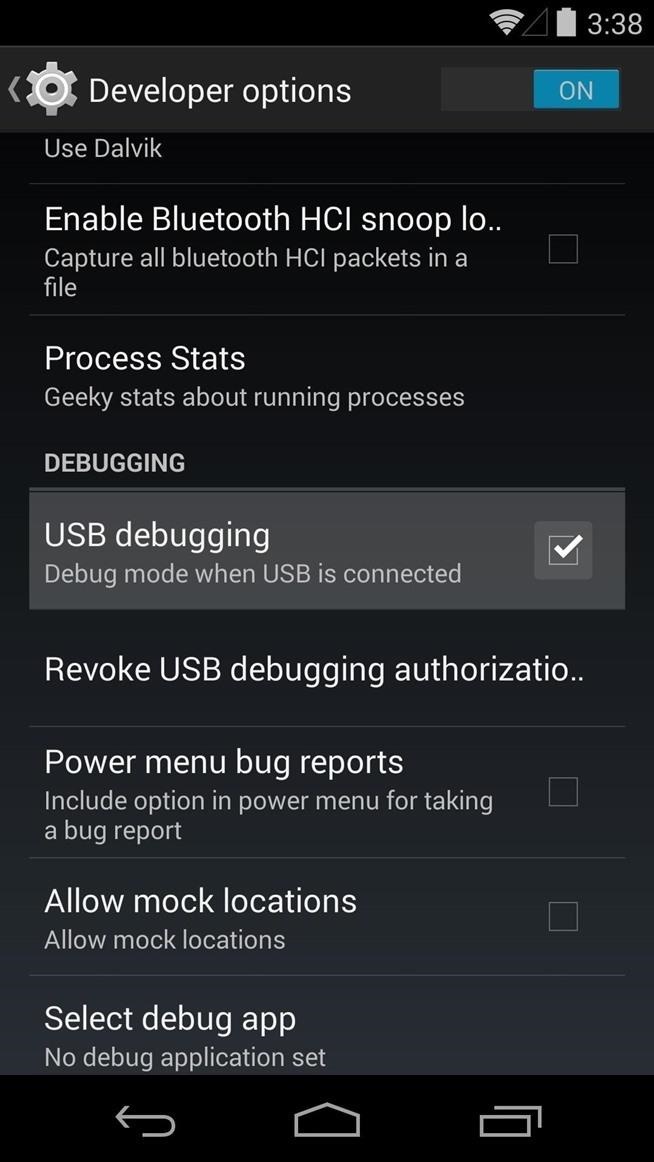
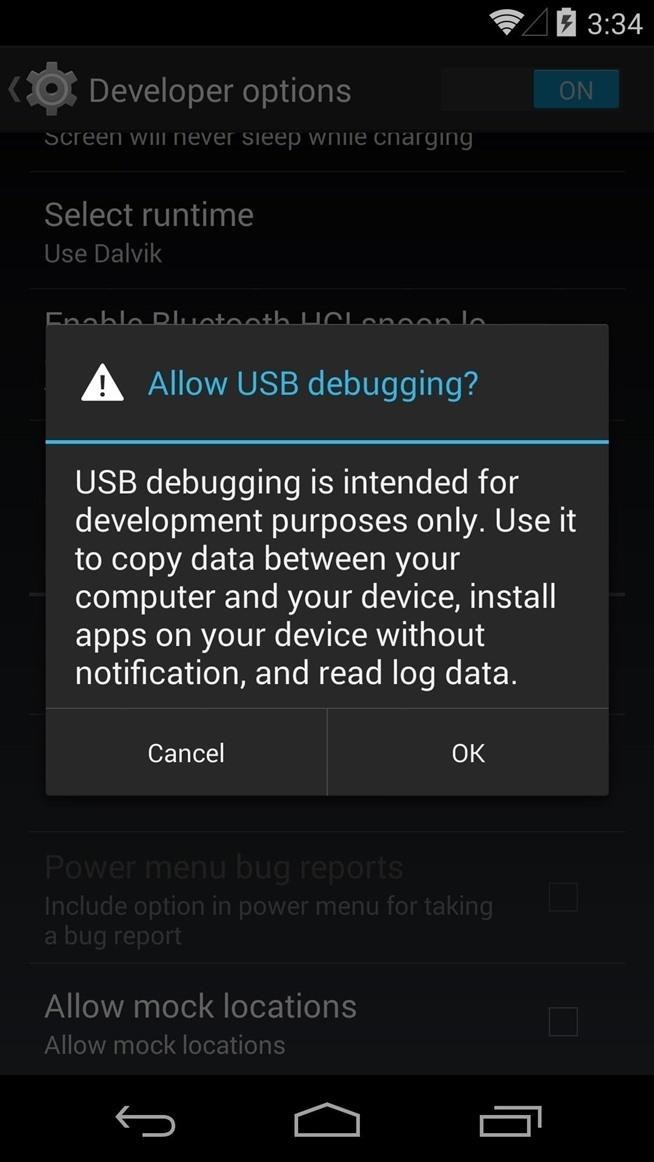
Next, back out one level and you'll see a new Settings menu titled Developer Options. Open this menu, then tick the box next to Enable USB Debuggingand press OK on the subsequent popup.
Step 2: Connect Your Phone to Your Computer
This is a simple step, but it's an important one. You'll need to connect your phone to your PC to apply the update, but the USB cable you're using to do that is important. Make sure there is no visible damage to the cable and the connection it makes at both ends is firm.
Step 3: Download the Factory Images from Google
Google's been kind enough to make the factory image files for the Nexus line of devices available to the public. The files you can download from their official site are the exact firmware that came shipped with your device, so there's no difference between this and an OTA update.
From your Windows PC, click this link to start the download. Make sure to note the save location as you'll need to access this file later.
I've covered Wugfresh's Nexus Root Toolkitin the past, and it's a wonderful tool. To simplify things today, we'll be using it to install the update. To download NRT, just click this link from your Windows PC.
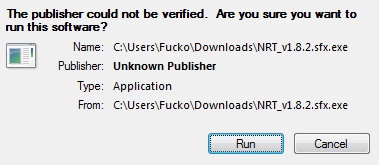
When the download has finished, double-click the file and hit Run.
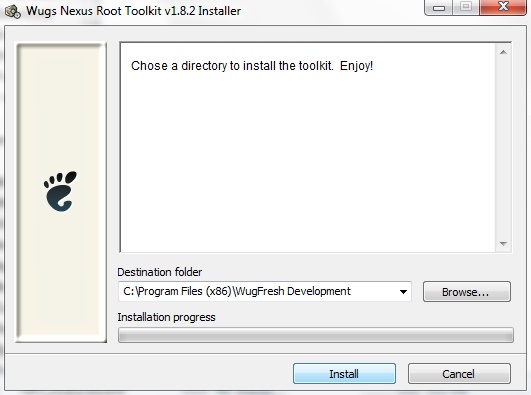
From the next window, click Install.
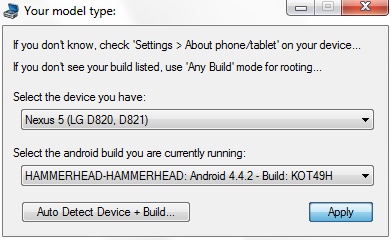
When the installer is finished, you'll be asked to enter your device name and Android build number. For Device Name, select Nexus 5, and in the Android Build Number field choose Build KOT49H.
This will vary if you are using a different Nexus device.
At this point, you'll see a dialog box instructing you to enable USB Debugging on your device. We've already covered that part in Step 1, but you'll also need to allow your computer to connect to your device at this point.
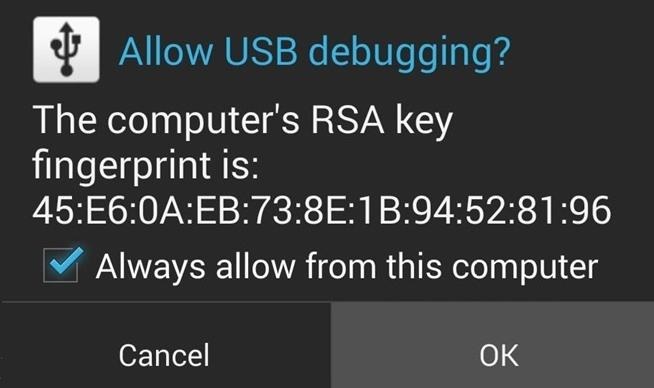
Unlock your device and you should see a dialog box asking you to Allow USB Debugging. Tick the box next to Always Allow From This Computer and tapOK.
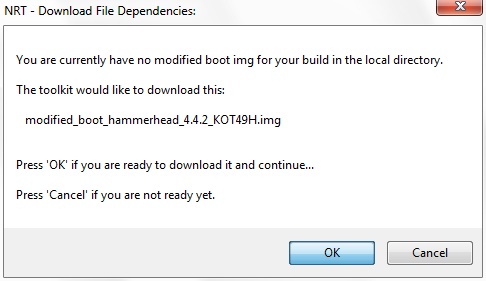
Next, NRT will ask you to download a couple of files. Click OK on these two windows to allow it to download all of the necessary files.
Again, your prompts will look slightly different if you're using a different Nexus device.
Step 5: Configure Nexus Root Toolkit
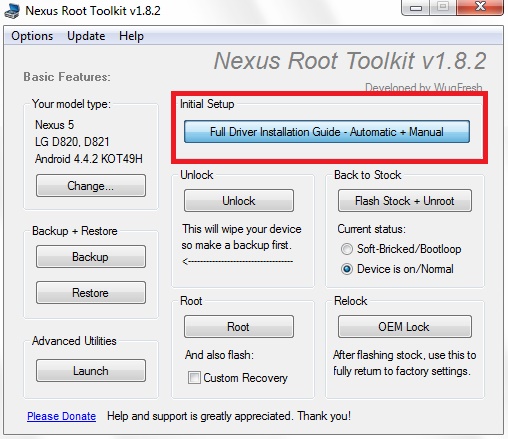
At this point, you should be looking at the main screen of the Nexus Root Toolkit. First, you'll need to install the ADB drivers if you haven't already done so. Right up top, tap the button that says Full Driver Installation Guideto get things started.
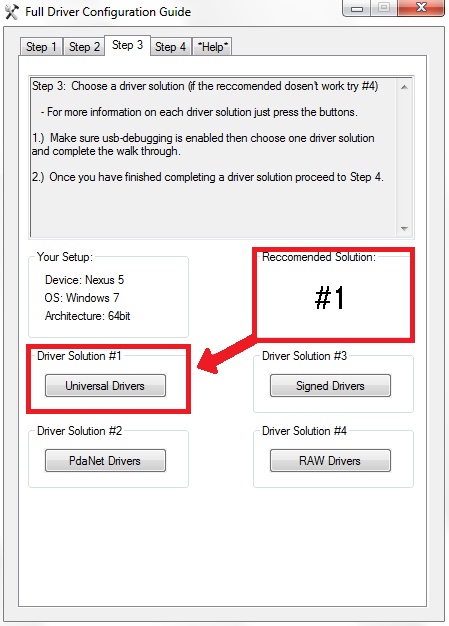
On the next screen, click the Step 3 tab and take note of the Recommended Driver Solution. Click the corresponding driver solution below it, then follow the prompts for driver installation.
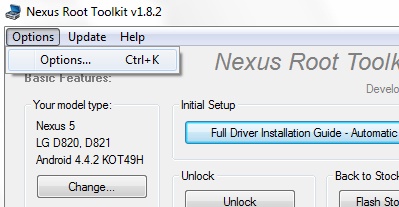
When finished, head back to the Nexus Root Toolkit's main page. From here, click the Options menu, then select Options.
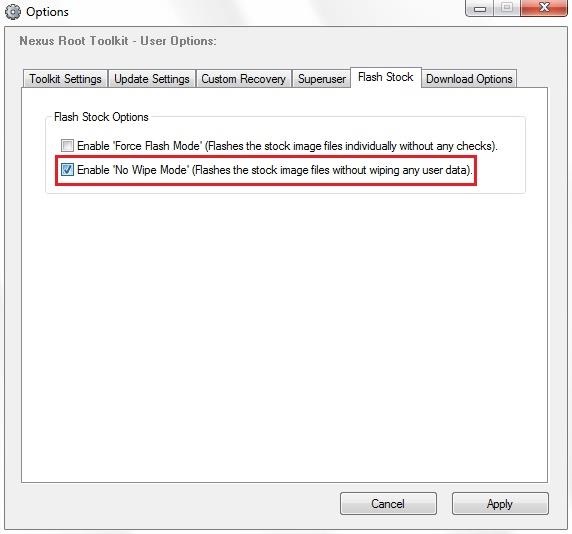
Head to the Flash Stock tab on this screen, then tick the box next to Enable No Wipe Mode.
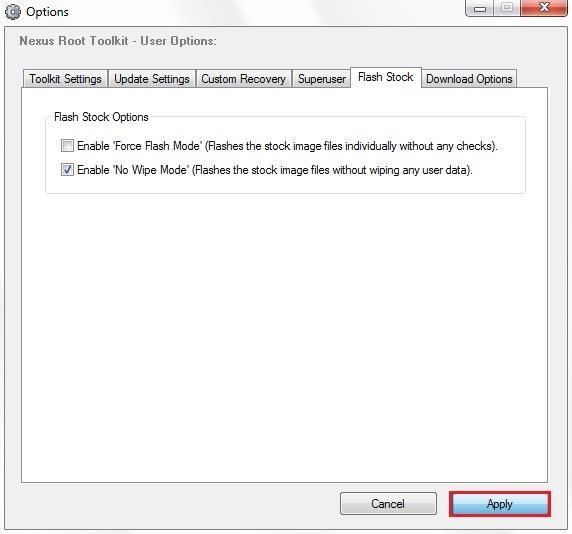
Press OK on the dialog box that shows up, then hit Apply to make your changes take effect.
Step 6: Flash the Update
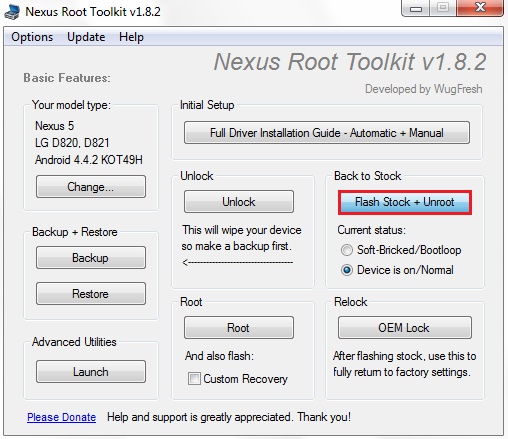
Back on the main screen of NRT, click the button labeled Flash Stock + Unroot. Don't worry about the "Unroot" part of that title, as we'll fix that later.
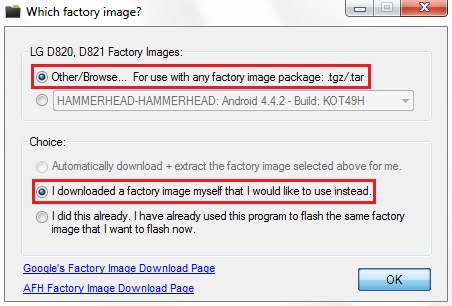
On the next screen, be sure to tick the boxes next to Other/Browse and I downloaded a factory image myself..., then click OK.
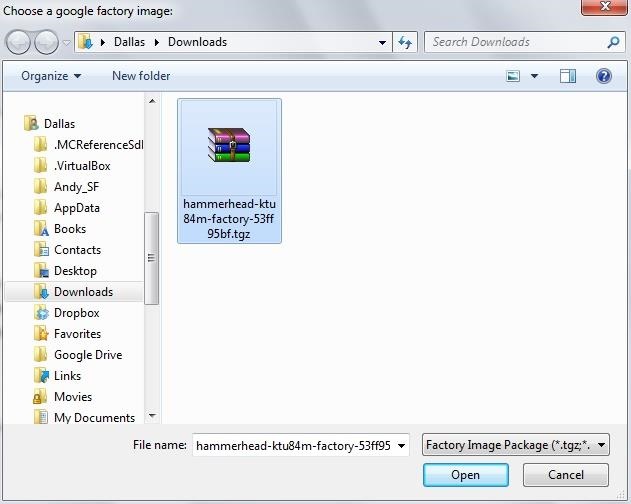
Use the next window to browse to the hammerhead-ktu84m file that you downloaded in Step 3 (or the one for a different Nexus device), then clickOpen.
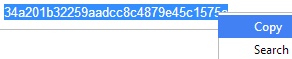
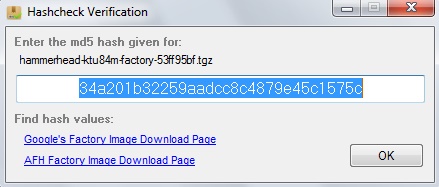
Next, you'll be asked to enter an MD5 number to verify the file's integrity. Copy the following text, then paste it into the field in that window and clickOK:
34a201b32259aadcc8c4879e45c1575c
If you are using another Nexus, your MD5 will be available from the same page you downloaded the factory image from in Step 3.
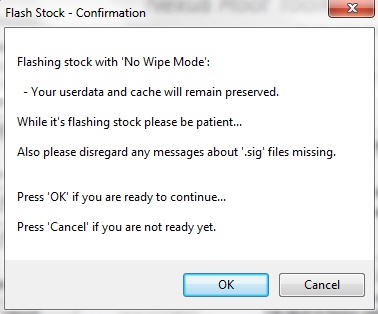
After a bit of processing, a window will appear that summarizes the install options you've selected. Click OK here to begin flashing the update, making sure that your phone doesn't get disconnected from your PC during this process.
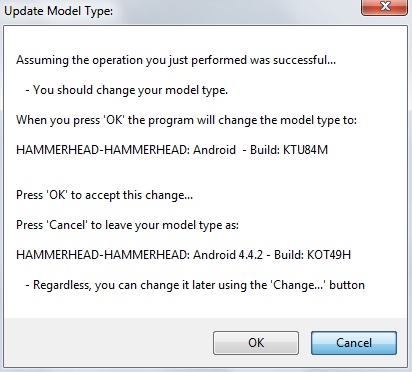
When it's done, you may see a window asking you to change your build number. This is for NRT's own sake, and it's not necessary here, so just clickCancel.
Since the Superuser binaries reside in the system partition that the new version of Android just overwrote, you'll have to install them again if you still want to have root privileges. You can also reinstall your Custom Recovery at this point if you had one before.
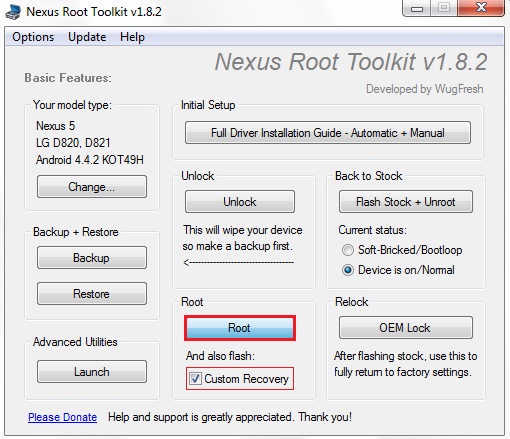
From NRT's main screen, under the Root subsection, tick the box next to And Also Flash: Custom Recovery. Then, just hit the Root button to begin the process.
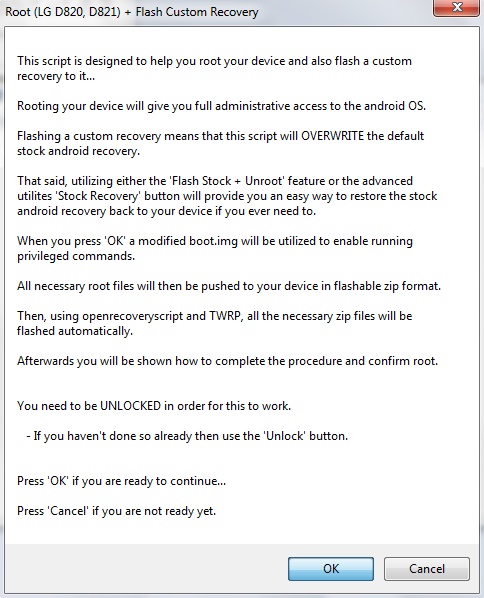
On the next screen, click OK to begin rooting and installing a custom recovery on your phone.
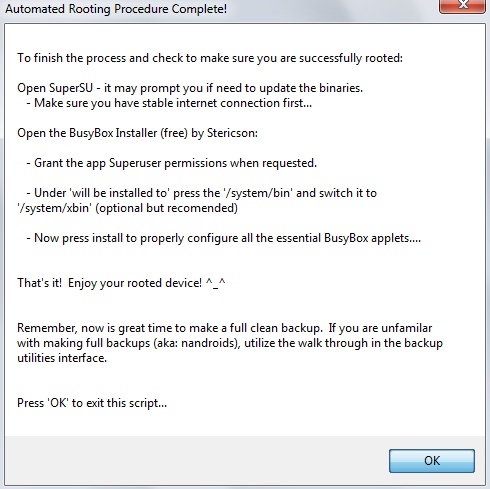
When it's all finished, a confirmation box will let you know that the process was successful.
You should now be up to date, with root and custom recovery restored and all of your data intact. If you use Xposed, you'll have to install the frameworkagain for your modules to become active.
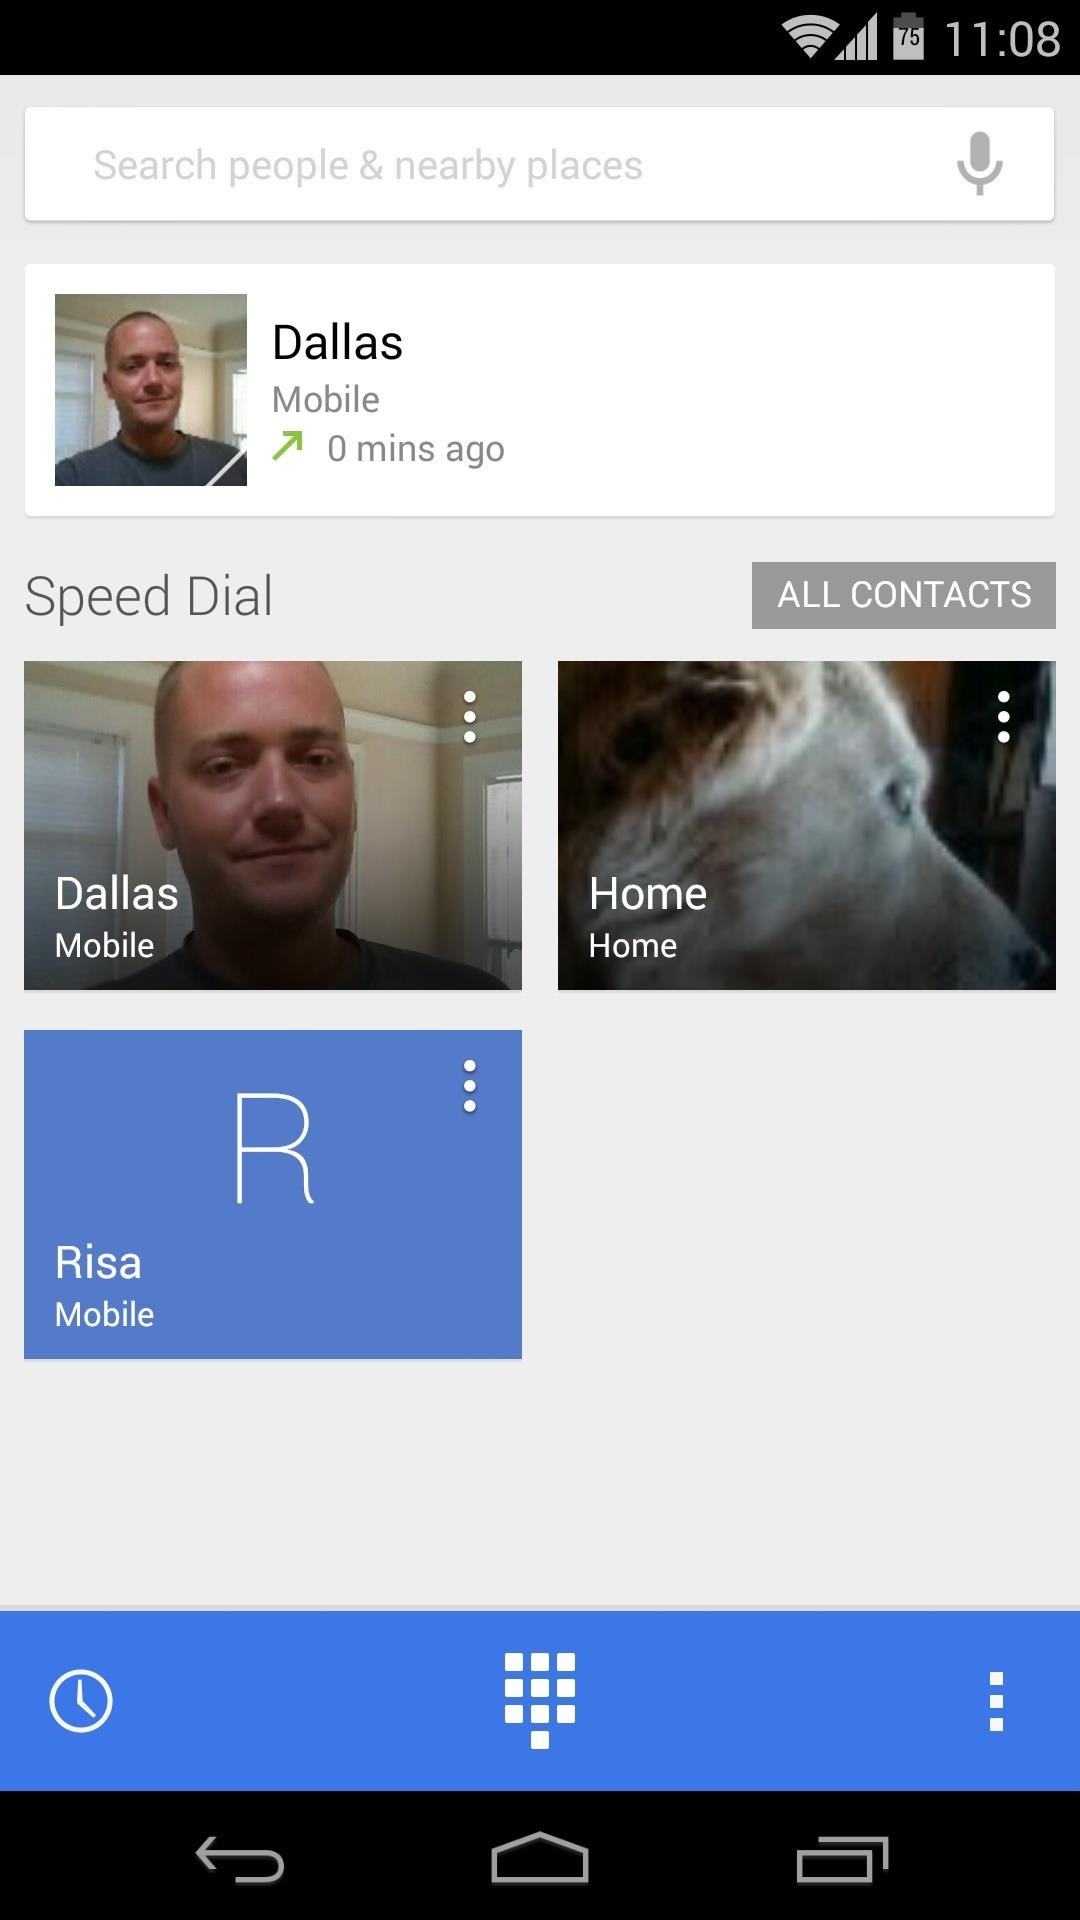
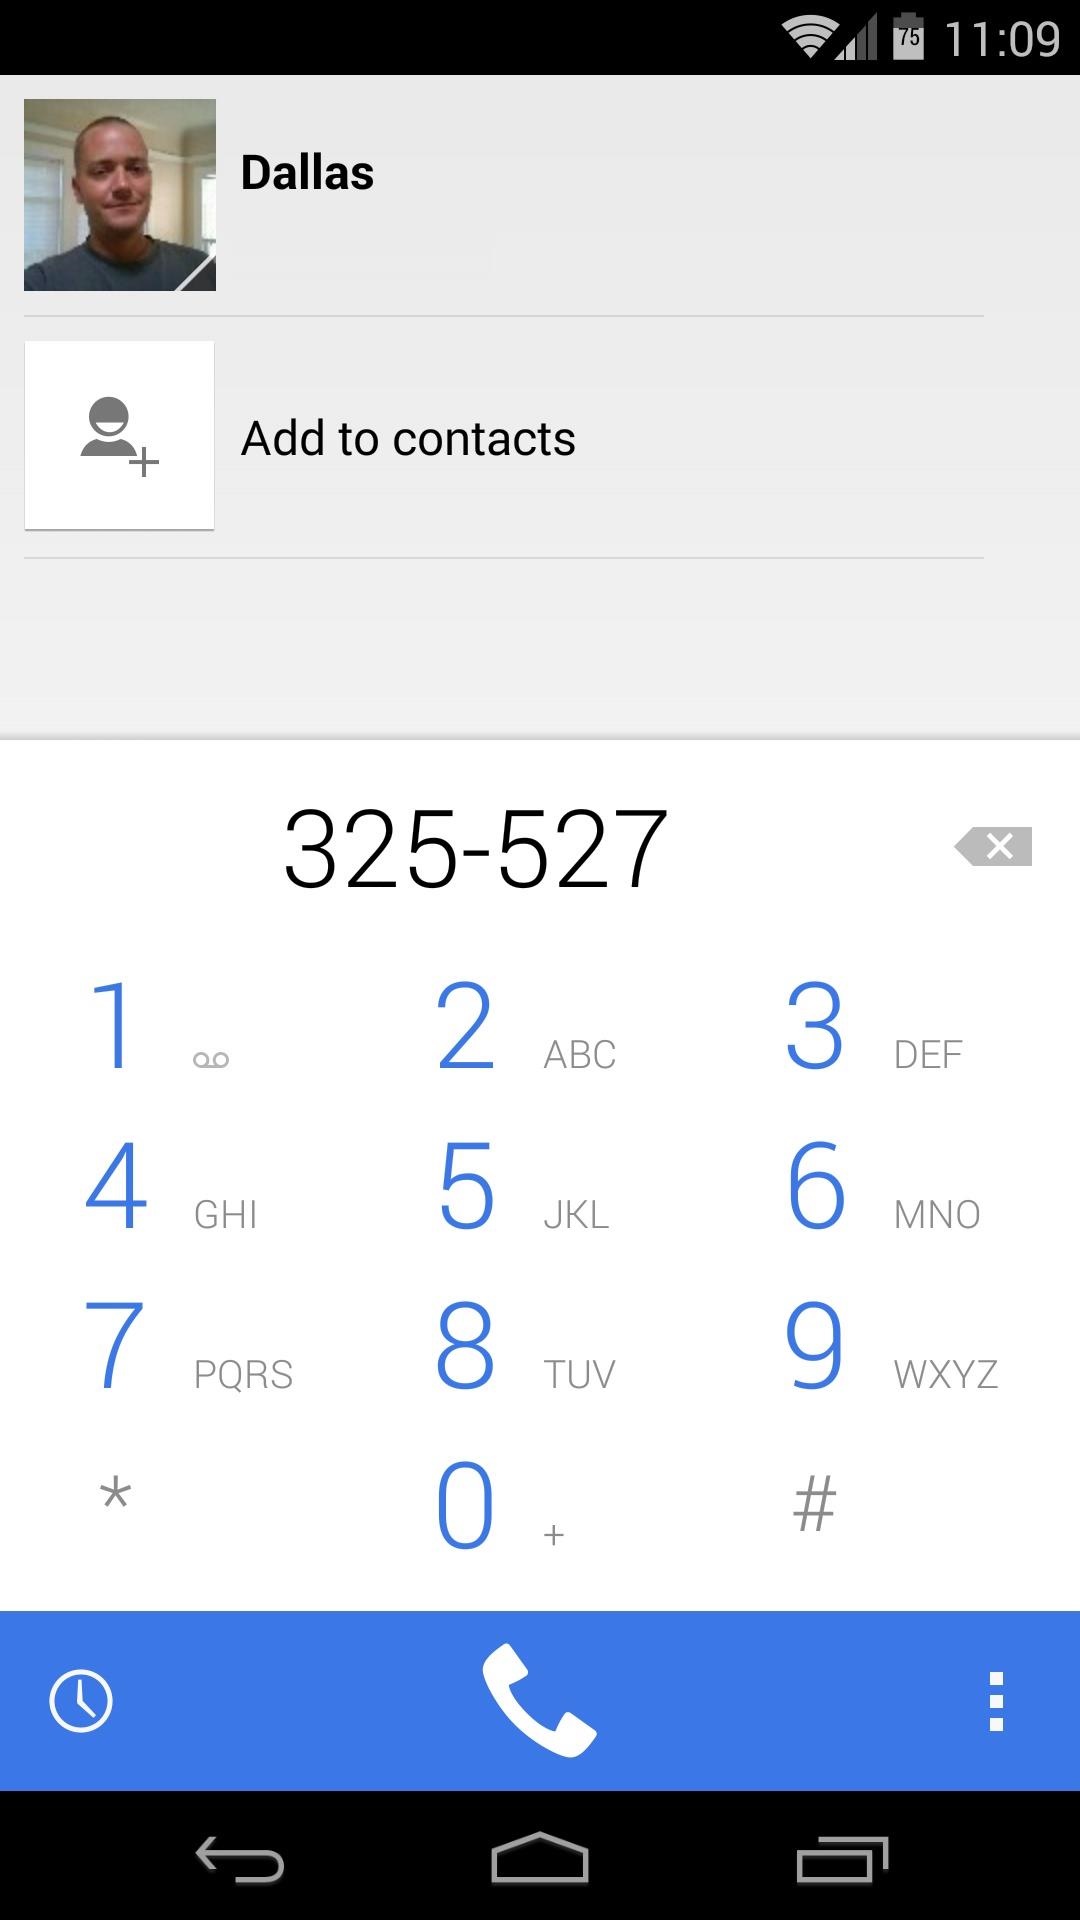
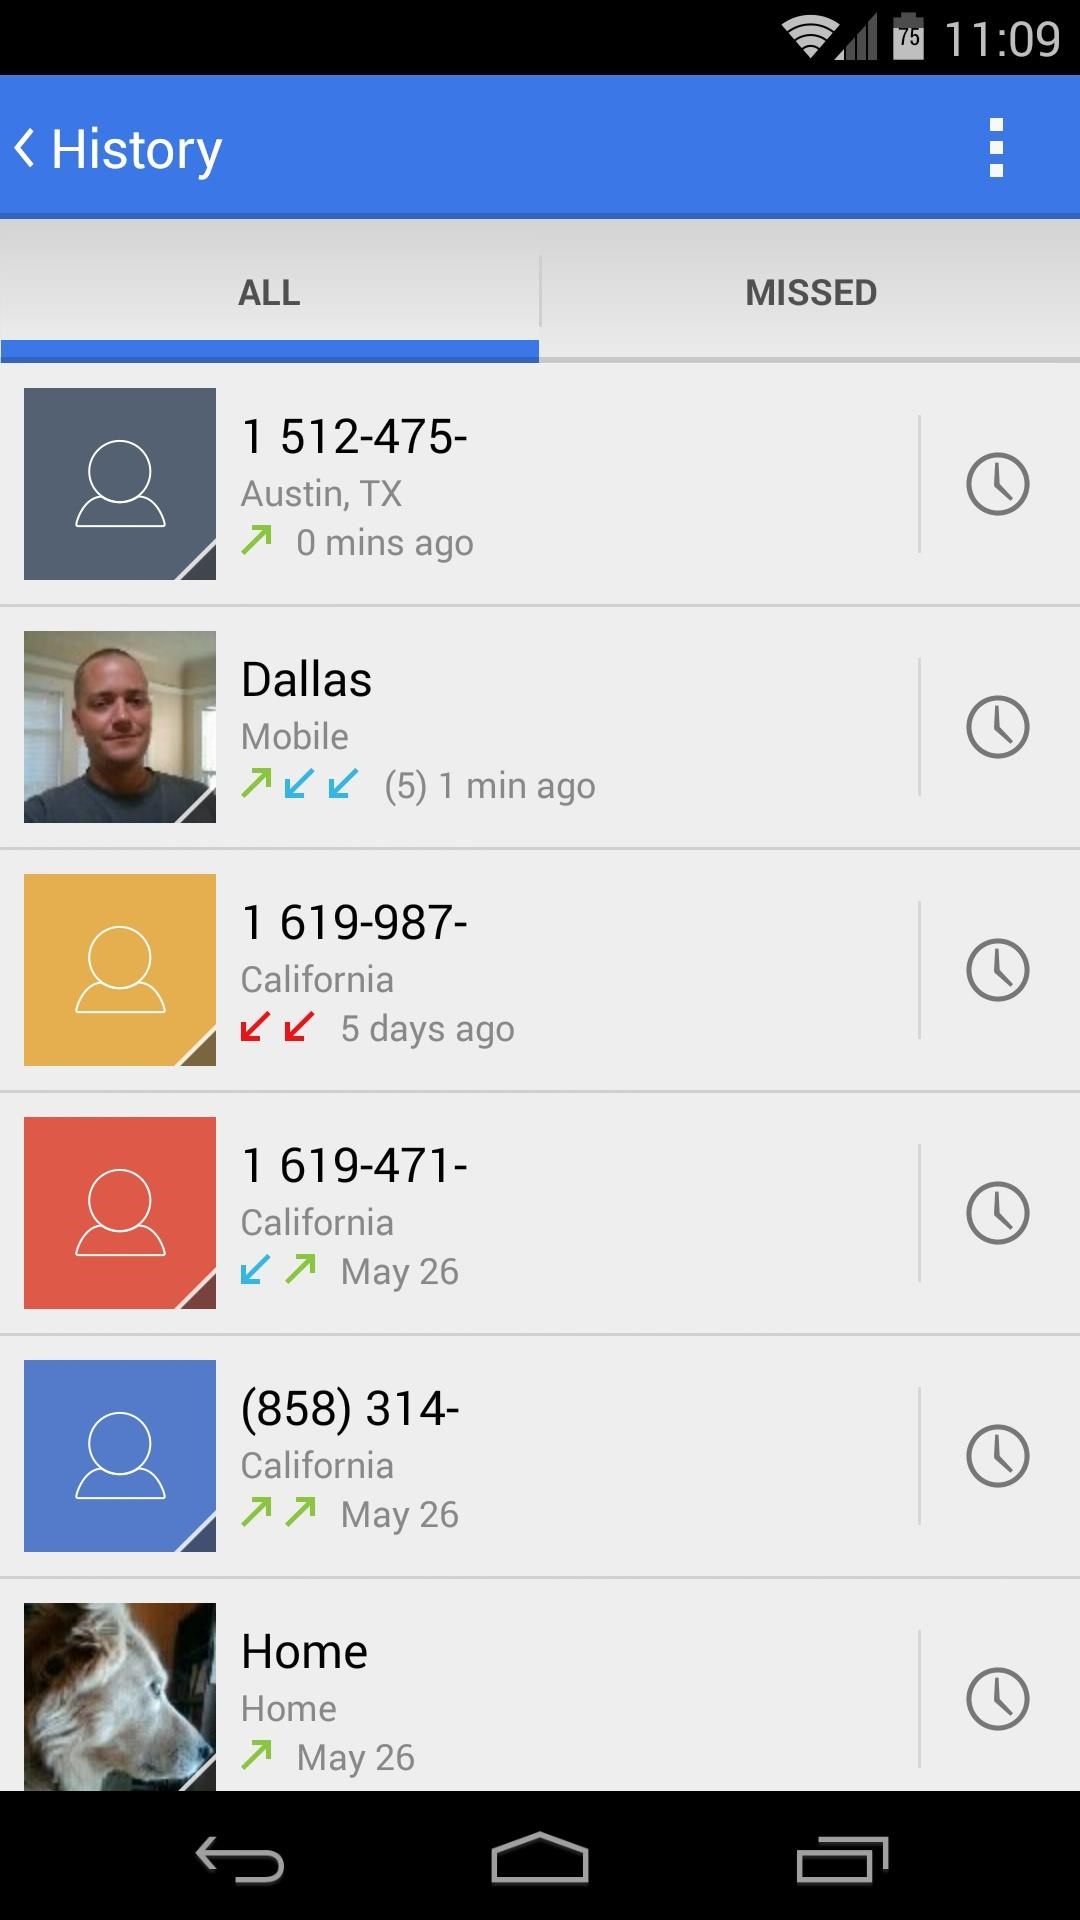
Most of the changes in Android 4.4.3 are under the hood, fixing various bugs and improving security. The only front-facing change that I've noticed so far is the dialer app, which got a bit of a makeover.
Now that wasn't so bad, was it? How are you liking the new dialer app? Have you noticed any interface changes other than the dialer? Let us know in the comments section below.
I have been trying to root my LG Optimus 2x wich I previously upgraded to the stock LG ICS but with no success until I fount the following instructions. I tried them and they worked for me nicely.
They were in Spanish so I have them here in English as well.
B) Set the mode mobile nVFlash
- Turn off the handset and press the VOL-and VOL + while connecting the USB
- Windows will detect a new device (APX) install the driver that came with the recovery
C) Open a CMD in Windows and go to the path where you unzipped the O2X-nVFlash-bootloader_unlock_v30a + CWM6.zip and executes the first command:
D) Once the message has been "... sent successfully" and returned the prompt (C: \ .....) disconnects the phone, wait 10 seconds and put it back in so nVFlash.
-> Mounts and storage
-> Mounts USB storage (then connect your phone to your PC and copy it to the external SD SuperSU Root.zip file)
-> (Once copied) umount USB storage
-> Install zip from sdcard
-> Choose zip from sdcard (look for the SuperSU Root.zip and install it)
-> + + + + Go Back + + + + (Beware! will if you want to FIX root permissions, you say YES. Will ask twice.)
-> Reboot system now.